The kids returned back to school this Monday..and I'm #ashamed to say that I am glad!! I love the Fall...but I find that during the cooler months...you can breathe easier you know?? The school schedules and sports activities get you in a routine and schedule and I find that there are no excuses to be lazy and just sit around! I can honestly say the same goes for my children (even though they may not admit to it!)
So...since it's just me and my fur babies...I got BUSY!! I used new goodies from the latest Idea Book & Catalog...and it felt great to get ink on my fingers!! (insert BIG sigh of relief) If you would like a new catalog or the current Holiday Catalog just let me know!! I'll send one out to you right away!!
A sweet friend of mine (who is also a fellow Chloe + Isabel Merchandiser) was having a rough time last week...and I thought a nice 'R.A.K' would be just the thing to make her smile!! She too is a 'crafter' and I KNOW she'll appreciate it!!
I found a really cute 'birdie' jewelry/ring holder and had it wrapped. I couldn't stop there!! I made a coaster and card to go along with it. Here you go~

Here is the coaster:


Directions: dust off the tile, you could wash it but it takes awhile to dry. (I always wipe mine down really well and it works just fine.). Stamp images using StazOn ink and allow to dry...I like to heat set with the heat tool (129053) or you could bake them in the oven to set. No need to spray...the images last just like that!! I also added a self-adhesive cork backing. Oh...AND after I made the card...I thought the coaster could use some shimmer too!! me loves it!
Card:
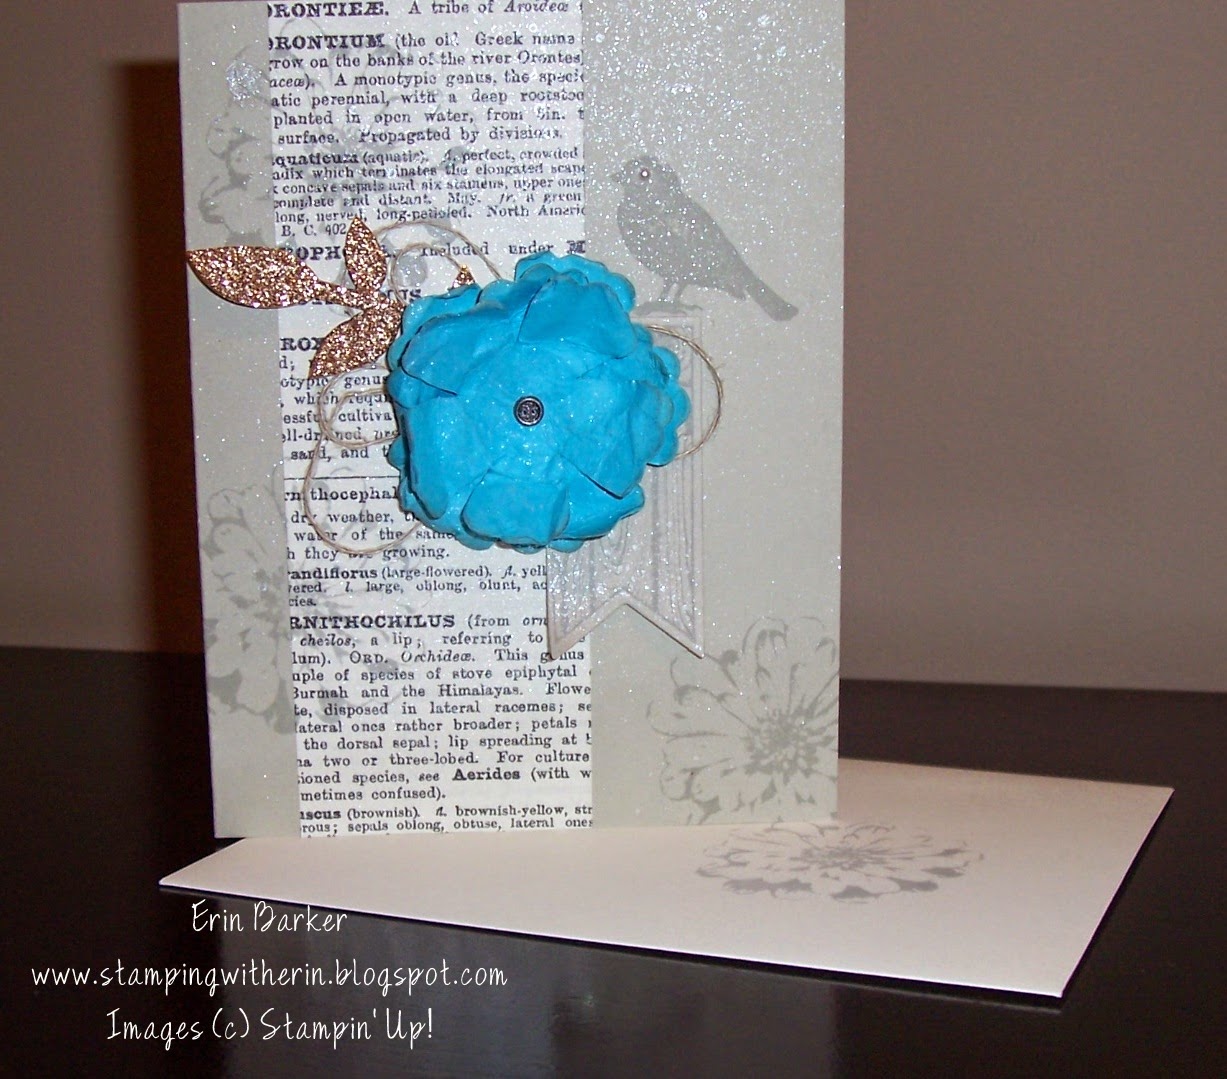
Inside:

Supplies
Stamp Set: Choose Happiness ( 134195W, 134198 C), Feel Goods (131916 W, 129684 C)
Card Stock: Sahara Sand, Very Vanilla, Tempting Turquoise
Ink: Sahara Sand, Black StazOn, Dove Gray StazOn
Access: Big Shot (113439), Banners Framelits (132173), Flower Frenzy Bigz L die (133728), Bigz L Fun Flowers (retired), linen thread (104199) vintage trinkets (retired), glue dots (103683), Vanilla Shimmer Smooch Spritz (118772), Champagne Glimmer Paper (127885), Typeset DSP (133704), Pearl Basic Jewels (119247)
So...until next time!! Have an AMAZING day!! GO STAMP!!
~ Erin


 Here's an oldie but a goodie..Post-It-Note holder: I love using coasters for so many projects. Here I covered the coaster with the same DSP and slipped some matching paper inside the barrel of the RSVP pen which was covered with clear micro-beads, added a binder clip and ribbon~ (this became the door prize). Very easy!


